sudo apt-get options
Then when prompted put in your password and hit enter. Where options is the different options that you put after the apt-get command.
First we’ll have a look at installing packages using the apt-get command. First you will need to update the package list. This is basically a list of all the packages that you can install and the reason you need to update the package list is so you can get the latest versions of the packages. You can do this by typing this into the terminal and hitting enter:
apt-get update
To upgrade any packages that have newer versions available type this:
apt-get upgrade
To download and install a package from the Ubuntu online repository all you need to do is open a terminal and type in this:
apt-get install packagename
Where packagename is the name of the package you want to install. To remove a package type:
apt-get remove packagename
The Synaptic Package Manager is like a graphical apt-get command. With it you can install, upgrade and uninstall thousands of packages. This is the easiest way to install, upgrade and uninstall packages if you are new to Linux.
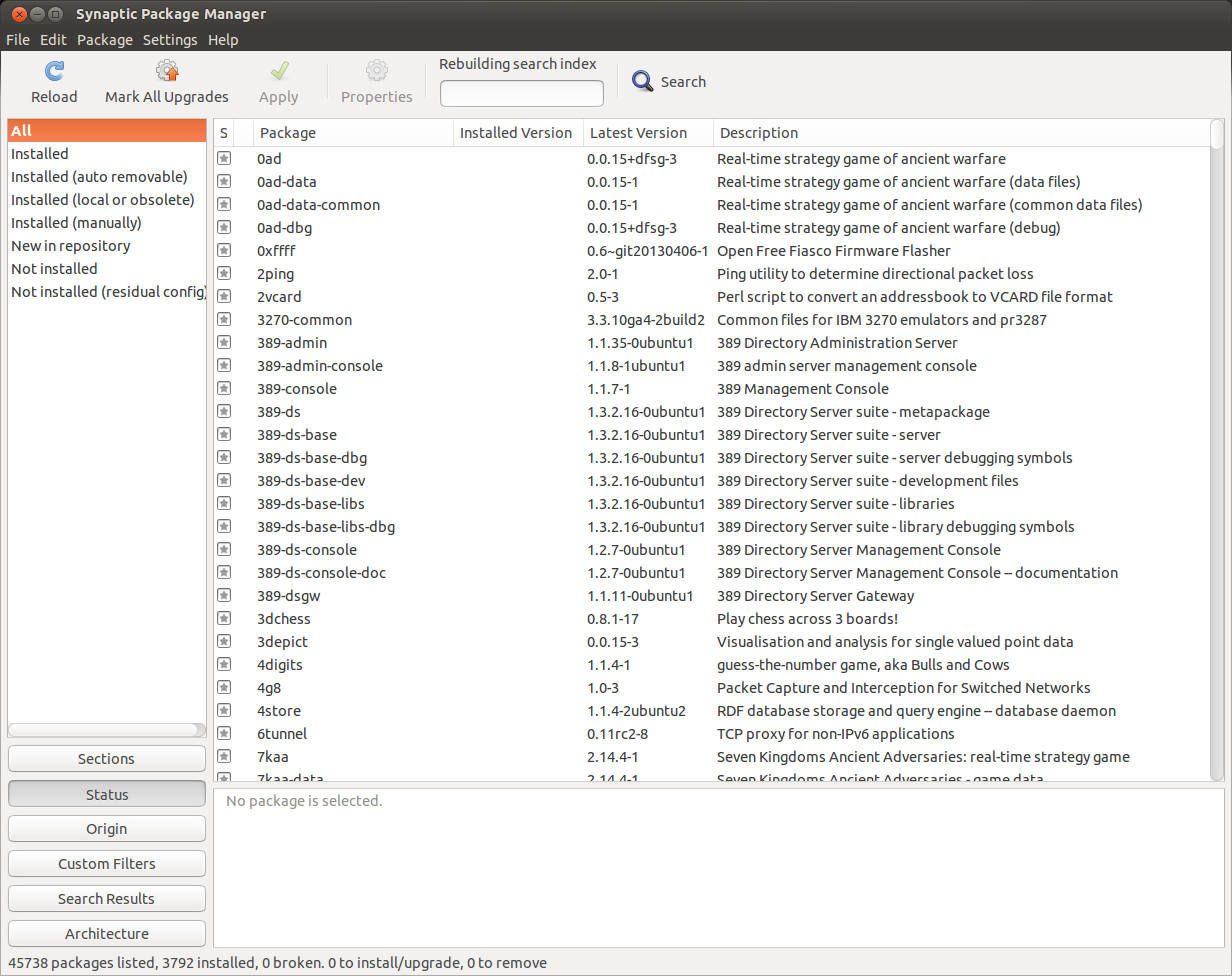
On the left are filters which you can use to filter the packages into category's. On the upper right section is the package list which lists all the packages that's in the selected category. The bottom right section is where a description is of the package that is selected.
To install a package all you need to do is select the package you what to install by clicking in the small check box to the left of the package name and then selecting “mark for installation” from the drop down menu. To remove a package click on the small check box to the left of the package name and select “Mark for removal”. Then when your done click the “Apply” button and in the window that comes up simply click “Apply”.
The Software Updater just handles updates. This is the easiest way to keep your system up to date.

The Software updater will automatically check for any updates and if there are any updates for your system they will be listed in the box in the middle of the window. Then all you do is click the “Install Now” button to install the updates.
Last we’ll have a look at manually downloading and installing packages. Ubuntu is based on Debian GNU/Linux so the package format that it uses is .deb. To install .deb packages you will either need Gdebi (A graphical tool to install .deb packages. The easy way.) or you will need to use the dpkg command.( The harder way.)
The Gdebi tool normally come with the standard Ubuntu install so you should already have it installed on your system. If not then just install it like so:
sudo apt-get install gdebi
And that should install the Gdebi tool.
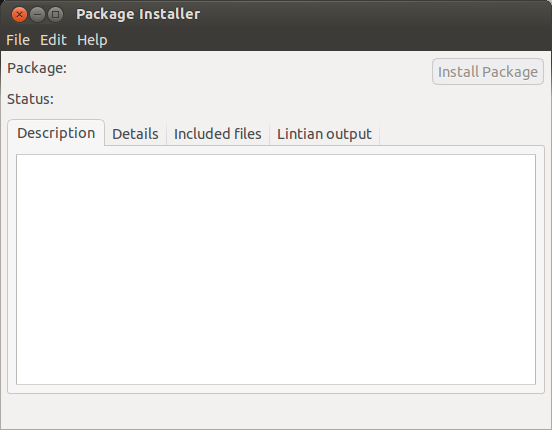
To use the Gdebi tool to install a .deb package all you need to do is download the .deb package you want to install and then double click on the .deb package in the file browser window. Then just click the “install package” button. As you can see there is three tabs. Description, Details and Included files. All fairly self explanatory.
To install .deb packages with the dpkg command all you need to do is open a terminal window and type in this:
dpkg -i filename.deb
Where filename is the name of the package you want to install. To remove a package with dpkg type this:
dpkg -r packagename
Where packagename is the name of the package that you want to remove.
That’s all. now you should be able to keep your system up to date and be able to install and remove packages on your system.